Step-by-Step Guide for Calibrating Drain Cameras
Table Of Contents
Conducting Test Run
To begin the calibration process for drain cameras, it is essential to conduct a test run to ensure the equipment is functioning correctly. Start by carefully inspecting all camera components, including the lens, cables, and monitor, to detect any signs of damage or wear. Next, power on the camera system and allow it to complete its startup sequence before proceeding. Adjust the focus and lighting settings as needed to achieve optimal visibility within the drain pipes.
Once the camera is ready, gently guide it through a test section of the drain to assess its movement and rotation capabilities. Pay close attention to any jerky movements or difficulties in navigating corners, as these could indicate alignment issues that need to be addressed. Additionally, observe the quality of the footage on the monitor to ensure clear images are being captured. By conducting a thorough test run, you can identify any potential issues early on and make the necessary adjustments before proceeding with the calibration process.
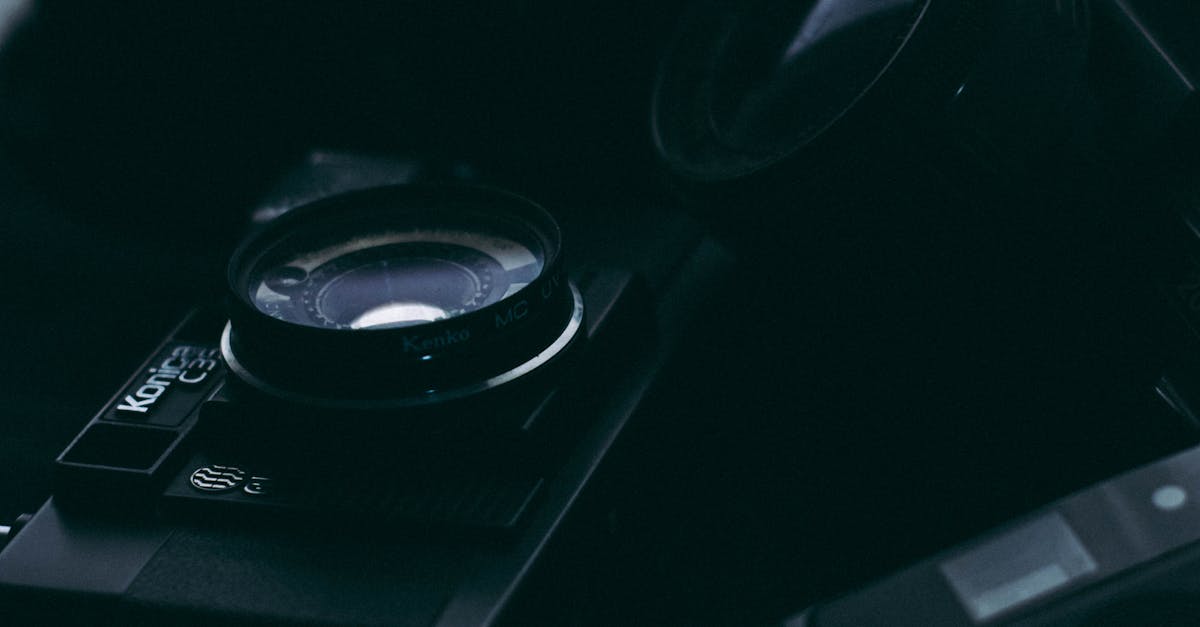
Check Image Quality
To ensure accurate inspection results, it is crucial to thoroughly inspect the image quality of the drain camera. Start by examining the clarity and resolution of the footage captured by the camera. Look out for any distortions, blurriness, or pixelation in the images, as these can impact the accuracy of the inspection process.
Additionally, pay close attention to the lighting and contrast of the images. Proper lighting is essential for capturing clear and detailed footage of the inside of the drain pipes. Adjust the camera settings if necessary to improve the brightness and contrast levels to enhance the visibility of any potential issues within the pipes. Regularly checking and validating the image quality will ensure that you obtain reliable and accurate inspection results.
Calibrating Camera Angle
To calibrate the camera angle of your drain camera, begin by positioning the camera head at the center of the pipe opening. Ensure that the camera lens is facing directly down the pipeline for accurate alignment. Use the camera controls to adjust the angle until it is perpendicular to the pipe walls, allowing for a clear and comprehensive view ahead.
Once you have set the camera angle correctly, slowly push the camera through the pipeline while monitoring the live feed on the screen. Check that the video footage remains steady and in focus, indicating that the camera angle is appropriately aligned. Make any necessary adjustments during this process to guarantee that the camera captures high-quality images throughout the inspection.
Ensure Proper Alignment
To ensure proper alignment of the drain camera, it is crucial to position it correctly before conducting any tests. Make sure the camera is straight and level inside the pipeline to obtain accurate footage. Misalignment can result in distorted images and inaccurate readings, leading to potential errors during the calibration process.
Check that the camera lens is facing forward in the direction of the pipe's flow. Proper alignment ensures that the footage captured is clear and provides a detailed view of the pipe's interior. By taking the time to align the camera correctly at the outset, you can prevent the need for repeated calibrations and obtain precise results during the testing process.
Examining Test Footage
After conducting the test run and calibrating the camera angle, the next step in the process of calibrating drain cameras is examining the test footage. This stage is crucial as it allows you to review the video captured during the test run and evaluate its quality and clarity.
When examining the test footage, pay close attention to the clarity of the images and the overall quality of the video. Ensure that the footage captures all the necessary details and provides a clear view of the drain pipes. Look out for any distortions, blurriness, or obstructions in the video that may affect the accuracy of the inspection.
Review Video for Clarity
After capturing the test footage using the drain camera, it is essential to review the video for clarity. This step allows you to analyse the quality of the footage before proceeding with any further adjustments or calibrations. By carefully examining the video recording, you can identify any issues such as distortion, blurriness, or poor lighting that may impact the accuracy of the inspection.
During the review process, pay close attention to the details captured in the footage. Look for any inconsistencies in the image, such as pixelation, noise, or gaps in the recording. It is important to ensure that the video provides a clear and accurate representation of the inside of the drain pipes. By thoroughly reviewing the footage for clarity, you can make informed decisions on whether any additional adjustments are needed to enhance the quality of the inspection.
FAQS
Why is it important to calibrate drain cameras?
Calibrating drain cameras ensures accurate and clear footage, which is crucial for identifying and diagnosing issues within the pipes.
How often should drain cameras be calibrated?
It is recommended to calibrate drain cameras before each use to maintain consistent and reliable results.
Can I calibrate a drain camera myself?
Yes, you can calibrate a drain camera yourself by following the step-by-step guide provided in this article.
What should I do if the image quality of the drain camera is poor?
If the image quality is poor, you should first clean the lens and ensure proper lighting. If the issue persists, consider calibrating the camera angle.
How can I ensure proper alignment of the drain camera?
To ensure proper alignment, carefully adjust the camera angle and make sure it is pointing directly down the pipe for accurate footage.
Is it necessary to review the test footage after calibration?
Yes, it is crucial to examine the test footage after calibration to ensure clarity and accuracy in identifying any potential pipe issues.
Related Links
Understanding the Testing Procedures for Drain CamerasImportance of Calibration for Drain Cameras
The Role of Calibration in Maintaining Drain Camera Performance
Benefits of Regular Testing and Calibration for Drain Cameras
How Often Should Drain Cameras be Calibrated?
Tips for Efficiently Conducting Drain Camera Calibration
Ensuring Accuracy in Drain Camera Calibration
Best Practices for Testing Drain Cameras
Common Calibration Issues and Troubleshooting